- August 23, 2024
Is Sintered Stone Slab Tiling hard?Absolutely not!
About Sintered Stone Slab Paving Process
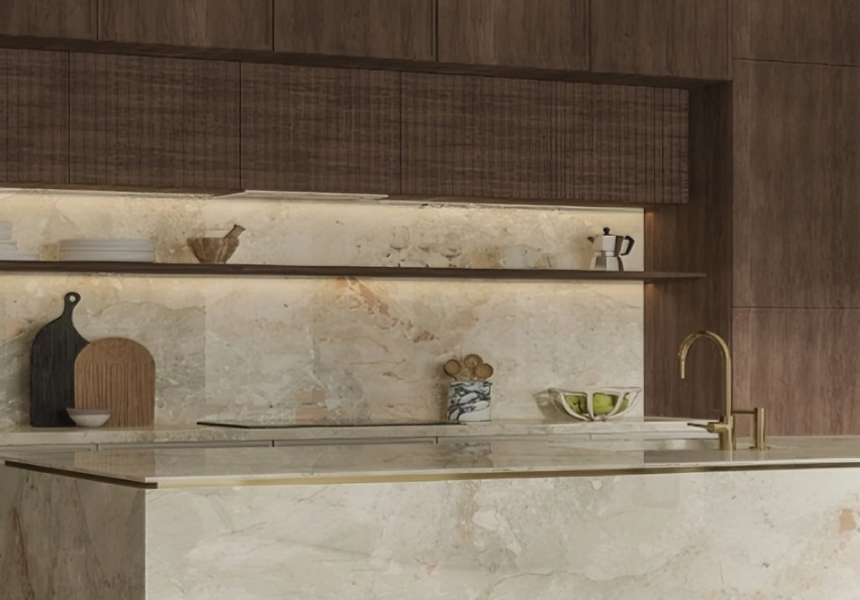
The popularity of rock slabs has extended from the field of interior design to the field of home design - it can be used as the application of panels, such as cabinets, closets, countertops, furniture, background walls, etc.; it can also be used as the application of assembled building materials, replacing the scope of application of natural stone.
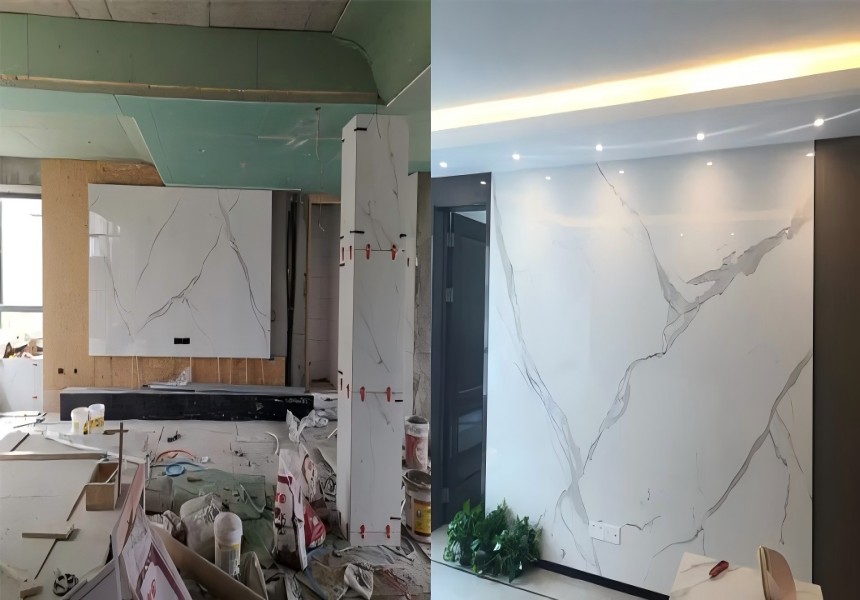
Oversized rock slabs have relatively very high requirements for installation process. In order to solve the terminal pain points, we focus on the rock slab installation process.
We share three construction processes to help you easily get rid of rock slab paving difficulties.

01.Metal corner piece screw fixing + gluing (wall practice)
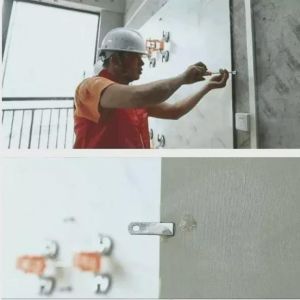

1)Stainless steel angle piece screw fixing
ps.On-site construction to do the paste test, according to the site-specific selection of adhesive sticking method.
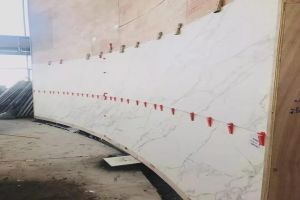
2)Ultra-thin panels glued directly to baseboards
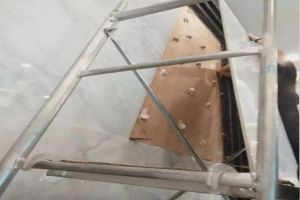
3)Large board dots glued to the top of the base board
02.Dry hanging installation of aluminum honeycomb composite rock panels (wall practice)
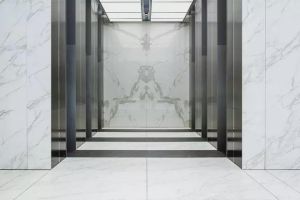
Aluminum honeycomb composite can mainly enhance the folding and connectivity of the rock slab, can significantly reduce the weight of large-size boards, dry-hanging installation with the general stone dry-hanging similar.
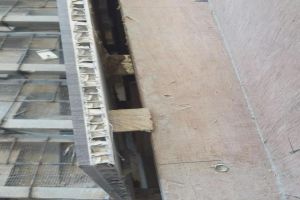
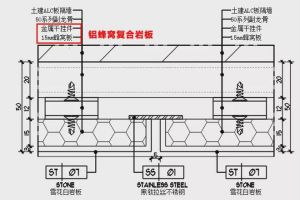
1)Aluminum honeycomb composite rock panel dry hanging cross-section
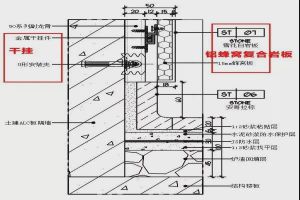
2)Aluminum honeycomb composite rock panel dry hanging vertical section
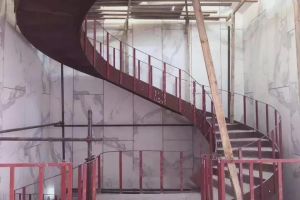
3.Rock slab gluing (ground practice, recommended practice for rock slab installation units)

Rock slab floor construction commonly used adhesive paving, manufacturers recommend the use of special rock slab installation instrumentation tools, supporting adhesive products, can be
a good solution to the rock slab drumming, installation of unstable and other issues.
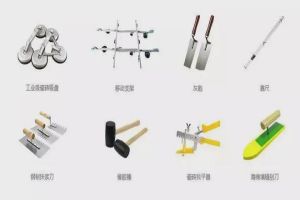
Rock slab paving process:
grass-roots treatment → line dividing → adhesive preparation → adhesive construction → large rock slab back coating → large rock slab paving → vibration and leveling → leveler to assist in adjusting the flatness → surface cleaning and protection → caulking treatment
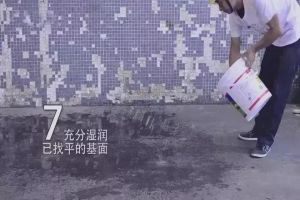
1、Base surface treatment
Remove the floating dust from the base, so as not to affect the adhesion of the tile adhesive.
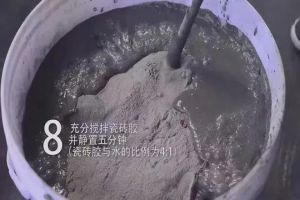
2、Modulation of tile adhesive
Tile adhesive and water 4:1 configuration, stir with a gray spoon until the Run Trickle uniform, no obvious block or paste lumps, stirred slurry rest for 5-10 minutes and then slightly stirred for 1-2 minutes can be used.
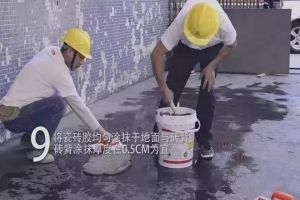
3、Coating tile adhesive
Evenly spread a layer of tile adhesive on the ground to form a semi-dry layer, again with tile adhesive to fill the surface bumps, the thickness of 0.5CM or so; under appropriate conditions, the tile adhesive can be uniformly wiped on the back of the rock slab at the same time, requiring the tile adhesive coated with full.
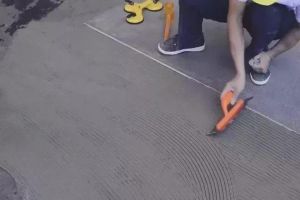
4、 Handling paving
With three-hole glass suction tools to lift the large flat panels panning construction location, placed on the paved tile
adhesive substrate, at least two workers need to carry, the area is I need to use the mobile frame to carry.
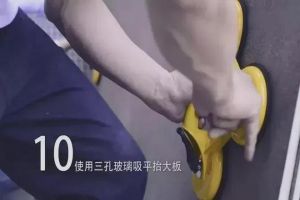

5、Paving and pressing
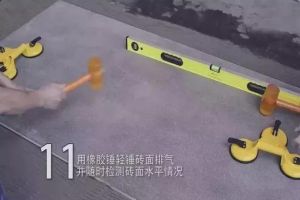
Pave the rock slab flat on the grass-roots level, and the rubber hammer will tap the rock slab solidly. With a rubber hammer
to knock the tile surface flat at the same time, measure with a ruler to ensure that the tile paving level.
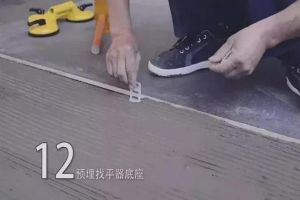
6、Leveling treatment
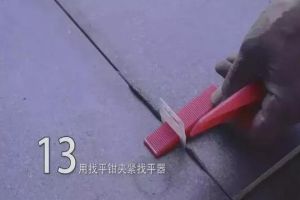
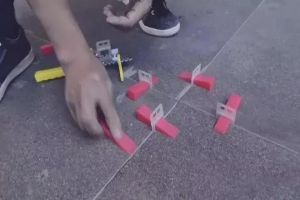
Around the edge of the positioned rock slab, insert the leveler base every 60cm or so, insert the leveling wedge and clamp
the leveler after checking the leveling, adjust the surface flatness ofthe adjacent rock slabs, and adjust the gap between the
slabs to 2mm or so for the subsequent seam sealant treatment.
7、Hollow drum check
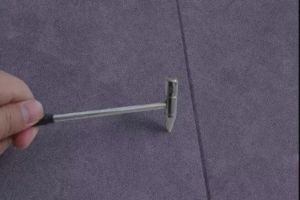
Paving one hour later, available hammer tapping brick surface, check whether the phenomenon of hollow drum,
paving construction end 24 hours later, can be inlaid seam construction.
8、Cleaning the board surface
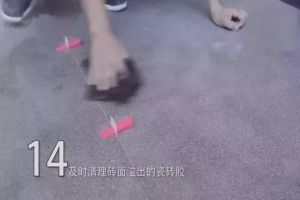
24 hours after the end of paving construction, clean up the leveler and caulking construction, caulking should be
selected to fill with flexible or elastic materials. Caulking curing, clean up the excess curing agent with clean hair green,
keep the board surface clean.

 English
 简体中文
简体中文

